Repair a Microwave Oven: How to Diagnose and Fix It Safely
To repair a microwave oven , start with the checks that need no tools: the outlet, the door, a power reset and the turntable. Next, match your symptom to a likely part. Then test only the low-risk parts, the fuses and door switches, with the unit unplugged and the capacitor discharged. Leave the high-voltage parts to a professional.
The problem is that a microwave dies at the worst time, usually mid-dinner, and repair videos make it look like a ten-minute job. It is not that simple. Inside the cabinet, a capacitor can hold thousands of volts for hours or days after you unplug the unit. At the same time, many failures come down to a cheap switch, fuse or turntable part, so giving up right away can waste money.
This guide walks you through the order that keeps you safe and saves time: safety and cost first, then four steps from simple checks to part replacement. Appliance Worx repairs microwaves for homeowners around Sacramento, so the steps below reflect where a careful homeowner can work and where a technician should take over.
Before you start: safety and whether it's worth it
Decide two things first: whether you can work safely, and whether the repair makes financial sense. Do not open a microwave until you can say yes to both.
Why unplugging is not enough
A microwave's high-voltage capacitor can stay charged for hours or even days after the unit is unplugged. Consumer Reports notes that the Consumer Product Safety Commission has reported people electrocuted while repairing microwaves. Treat the capacitor as live until you have discharged it yourself.
Unplugging a microwave does not make its capacitor safe.
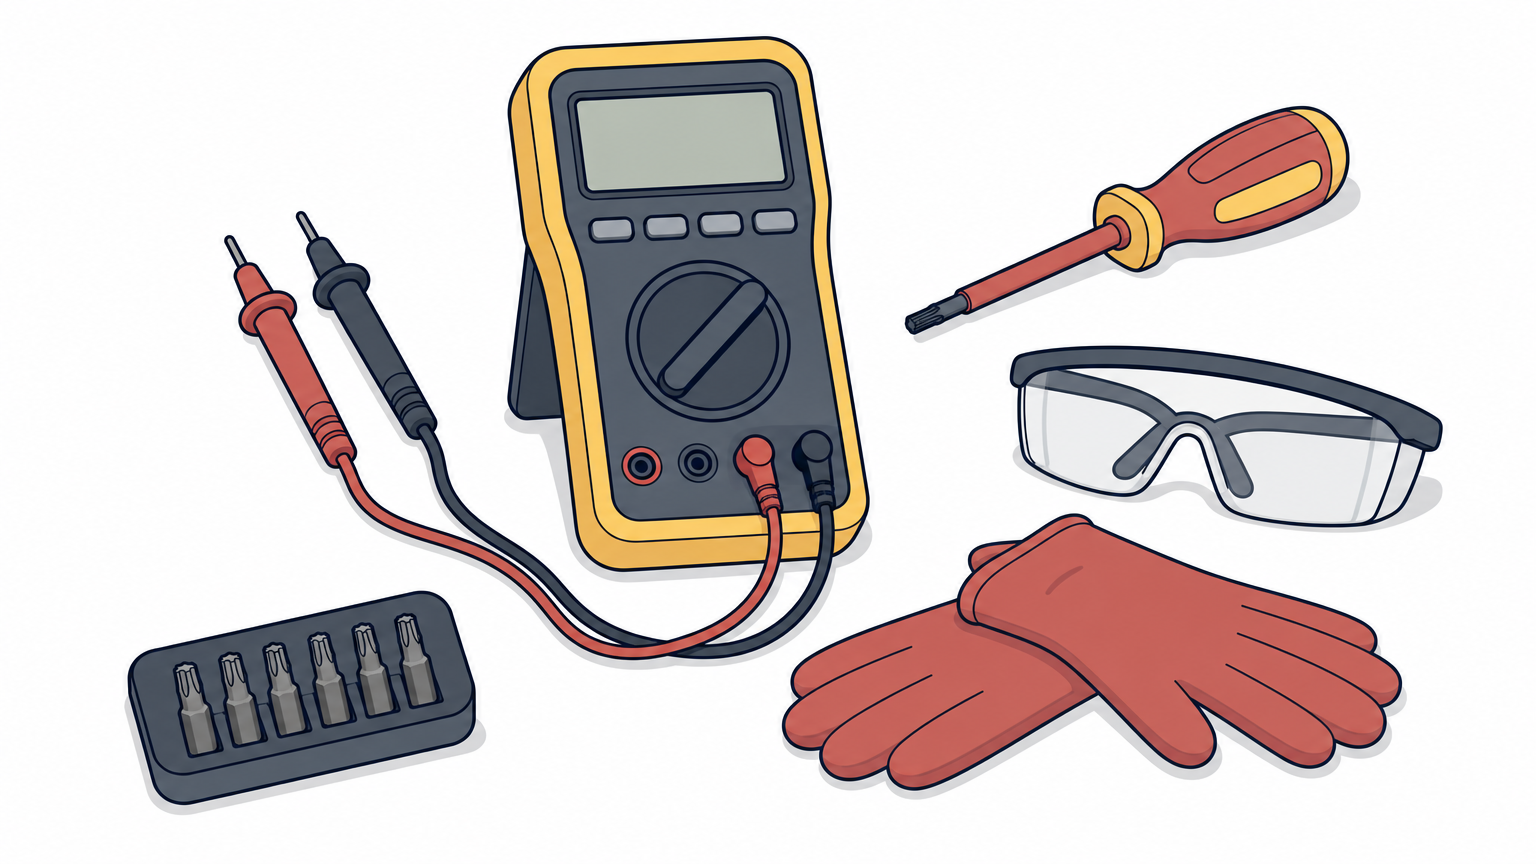
You also need a few basic tools. Gather them before you begin:
- A digital multimeter with a continuity setting
- A screwdriver with a fully insulated handle and shaft
- Security Torx bits and a nut driver set, since many cabinets use tamper-resistant screws
- Insulated gloves and safety glasses
- Your phone, to photograph every wire before you disconnect it
Is a microwave repair worth the money
A good rule of thumb is to replace the unit if the repair costs more than half the price of a comparable new one . Take a $150 countertop model with a $90 quote. You are better off buying new. Take a $500 over-the-range unit with a $150 repair. Fix it, because a replacement can add $100 to $200 in installation, according to Consumer Reports, and more if cabinets or wiring change.
Age matters too. Microwaves typically last around 7 to 10 years , so a cheap part in a unit that is only a few years old is nearly always worth fixing. A pricey part in an aging one rarely is. Check your warranty first, since most manufacturers offer one year.
Step 1. Run the no-tools checks
Start with the checks that cost nothing, because a surprising share of "dead" microwaves have a power or settings problem , not a failed part. Do these in order.
Rule out power and settings
Work through this list before touching a screw:
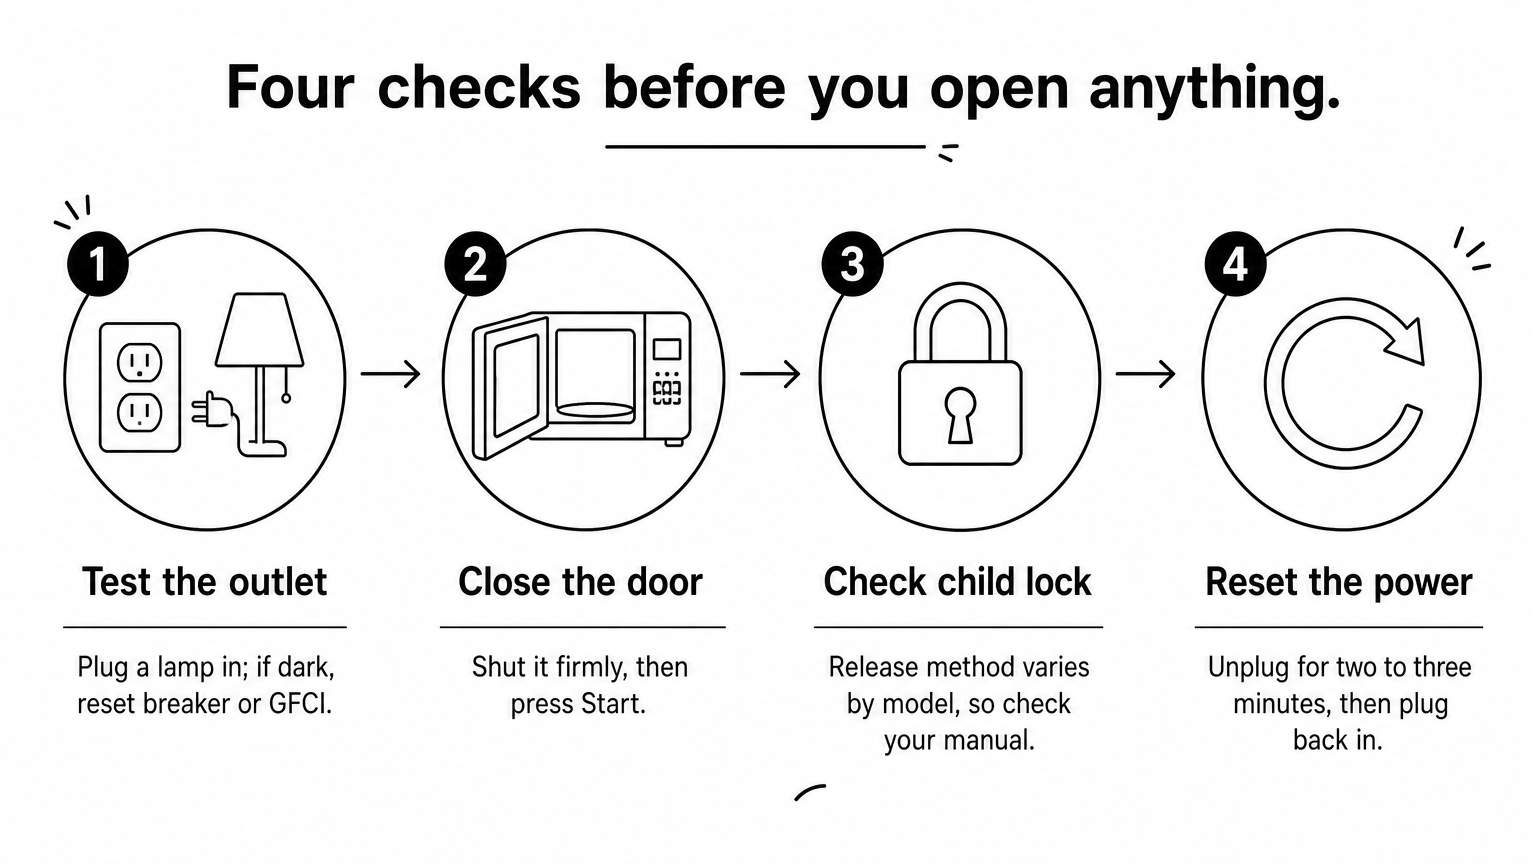
- Plug a lamp into the same outlet. If it stays dark, reset the breaker or GFCI.
- Close the door firmly, then press Start. Many units show "close door" if the latch does not seat.
- Check for an active child lock. The release method varies by model, so check your manual.
- Unplug the microwave for two to three minutes, then plug it back in. This clears many control glitches and resets a frozen keypad .
Check the door, turntable and interior
Inspect the door latch hooks, hinges and seal for cracks, food buildup or bending. A door that does not align can keep the unit from starting, and Consumer Reports lists door and control panel problems among the most common complaints. Wipe the seal and frame clean.
Lift out the glass tray and look at the turntable coupler and roller ring . A cracked coupler or a misplaced roller is the usual reason a turntable stops. Also look at the small mica waveguide cover on the right interior wall. Grease or burn marks there cause sparks.
Most "dead" microwaves are a power, door or settings problem, so check those first.
Step 2. Match the symptom to the part
Your symptom points to a short list of parts, so diagnose before you buy anything . The table below sets the usual suspects next to how realistic a home repair is.
Symptom and likely cause
| Symptom | Likely cause | DIY level |
|---|---|---|
| No lights, no display | Outlet, blown fuse, thermal fuse, control board | Fuses: moderate |
| Runs, fan and light on, no heat | High-voltage diode, capacitor, magnetron, transformer | Pro |
| Clicks or says "close door" | Door switches or latch | Moderate |
| Sparks inside | Food debris, damaged waveguide cover, metal | Easy to moderate |
| Turntable will not spin | Coupler, roller ring, drive motor | Easy |
| Keypad ignores presses | Worn touchpad or control board | Moderate to hard |
What a homeowner can reasonably fix
The easy wins are the turntable parts, the waveguide cover and a cleaned door. The moderate ones are fuses and door switches, which you reach in Step 3. All of them involve cheap parts and low risk once the unit is discharged.
A microwave that runs but does not heat is the hard case. The cause sits in the high-voltage circuit, and diagnosing it means working near the charged capacitor and magnetron. Many repair videos tackle it, but if you have never done electrical work, hand this one over.
If the microwave runs but does not heat, the fault is in the high-voltage circuit, which is not beginner territory.
Step 3. Open the cabinet and test the cheap parts
Only open the cabinet if your symptom points to a fuse or switch and you are comfortable following each step exactly. Never run the microwave with the cover off.
Unplug, open and discharge
Unplug the unit and wait at least a few minutes. Remove the cover screws, then slide the shell back and off. Photograph the wiring. Find the capacitor, a metal can with two terminals, usually near the transformer.
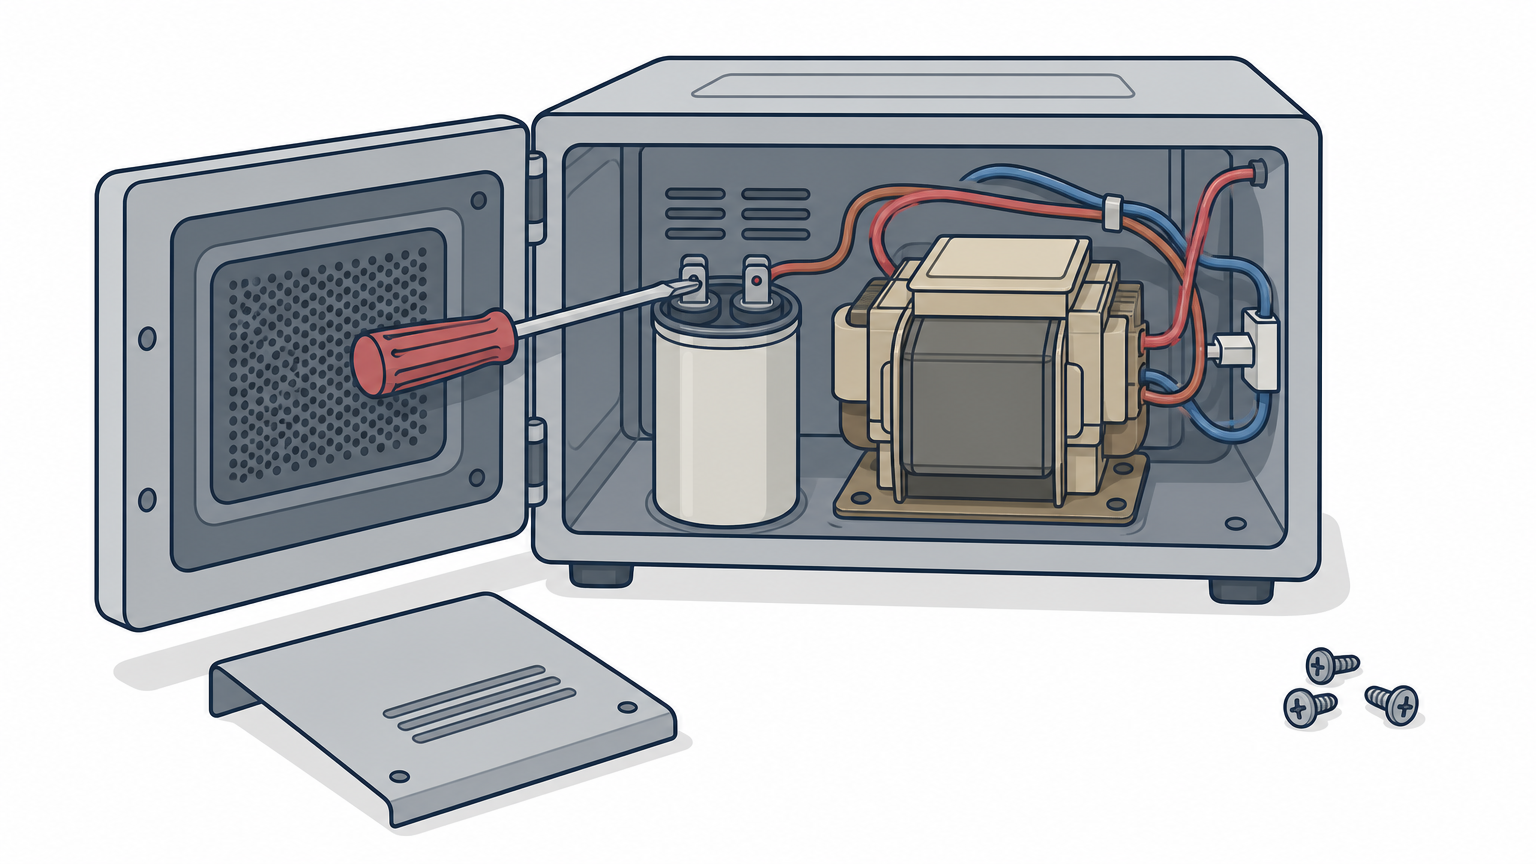
Put on gloves, hold the insulated screwdriver by its handle only, and touch the blade across both terminals at the same time to discharge. Keep one hand behind your back and never touch the metal. If any of this sounds unfamiliar, stop here and call a pro.
Test the fuse and door switches
Set the multimeter to continuity. Pull the fuse and touch a probe to each end. A good fuse beeps or reads near zero , and a blown one reads open. Test the thermal fuse the same way.
Next test the door switches. Disconnect each switch's leads, then check continuity with the plunger pressed and released. A switch that never changes state is bad. Most microwaves include a monitor switch that blows the fuse when the door switches fail. So if the fuse was blown, test the door switches before you replace the fuse , or the new one may blow too.
A blown fuse is often a symptom of a failed door switch, not the cause.
Step 4. Replace the part and test it safely
A repair succeeds when you fit the exact part and then test the unit properly. The goal is a working microwave, so run a controlled check before you trust it.
Order and fit the exact part
Find the model number on the label inside the door frame or on the back or side, and order the part by that number. Match fuses by their printed rating and compare switches with the old ones. Reconnect each wire from your photos, then reassemble and replace every cover screw.
Run a water test and know when to stop
Place a mug of water inside and run the unit for one minute. The water should come out warm, and you should hear no buzzing, arcing or burning smell. Never run a microwave empty , since that can damage the magnetron.
Stop and call a professional if the fault is in the magnetron, diode, capacitor or transformer. Call one as well if the fuse blows again, or if the repair costs more than half a new unit. Appliance Worx fixes microwaves that will not heat, spark, have a dead turntable or an unreliable touchpad. We give a written estimate with parts, labor and tax before work begins, and cover every repair with a one-year parts and ninety-day labor warranty.
When the fault is in the high-voltage circuit, a professional repair is the safer and cheaper choice.
Fix the easy problems, hand off the dangerous ones
Most microwave repairs follow one order: check power and settings, match the symptom to a part, test the fuses and switches with the unit discharged, and replace what failed. The high-voltage parts are where homeowners get hurt, so those are worth paying someone else to handle.
If your microwave is not heating, sparks, or just will not start, book an Appliance Worx technician in the Sacramento area. Have your model number ready and we can tell you what the repair is likely to involve.